

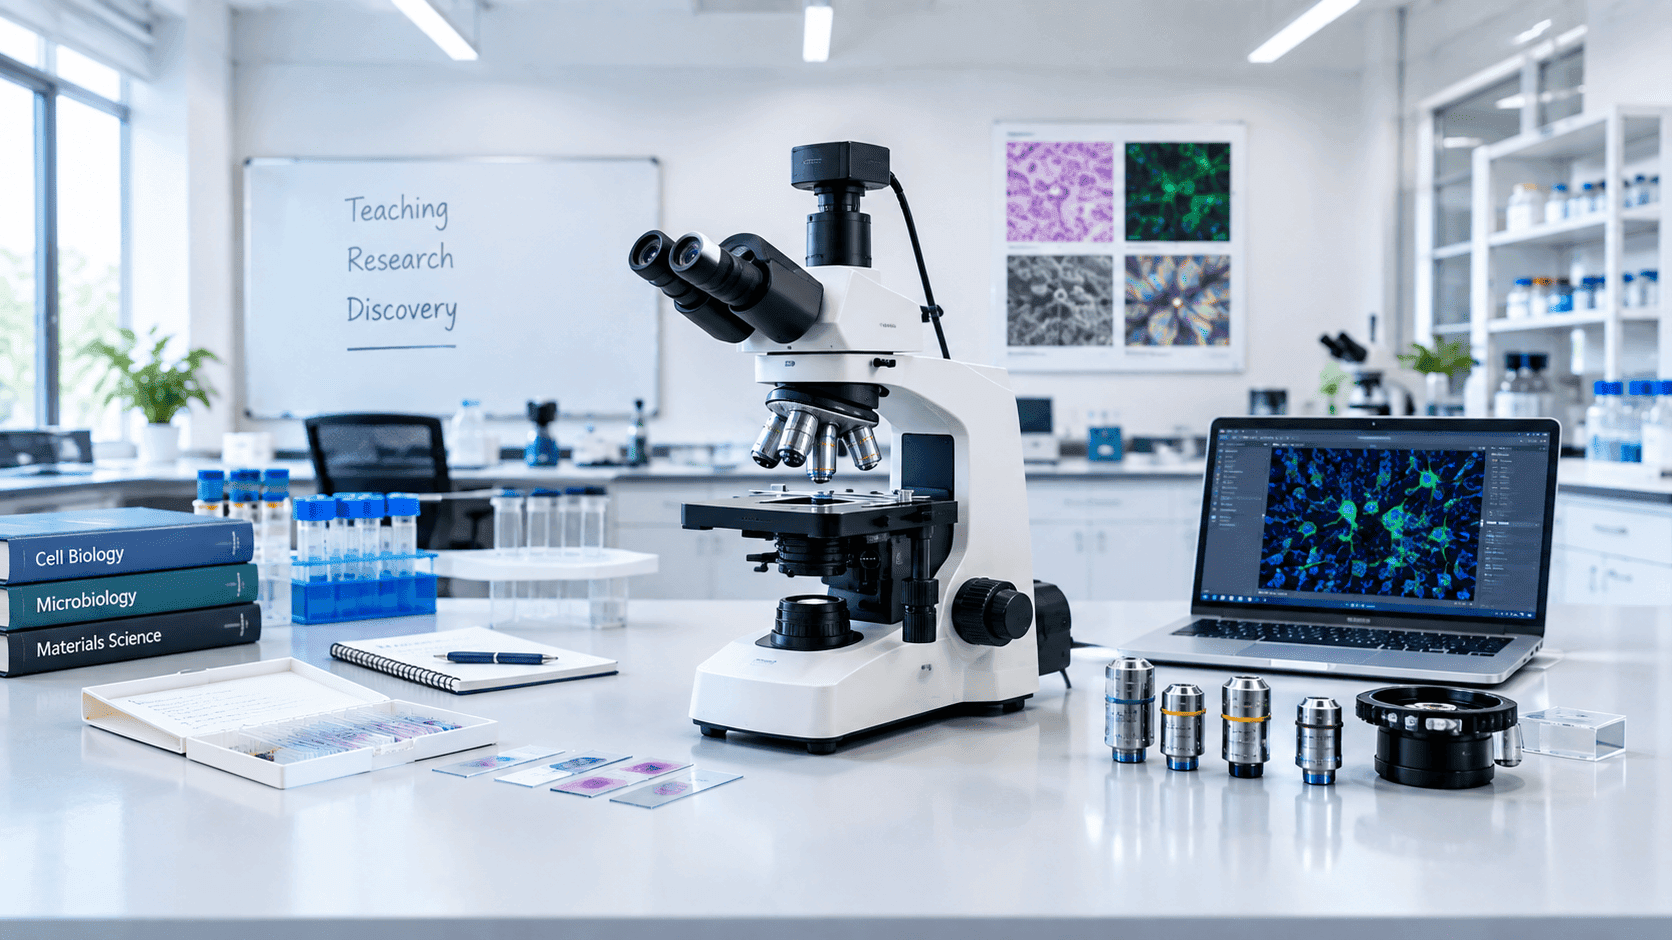
Choosing microscopes for a university laboratory is not simply a matter of selecting the highest magnification or the most advanced model available.
A teaching laboratory may need robust microscopes that are easy for dozens of students to operate, while a research laboratory may require advanced imaging, specialized contrast methods, fluorescence, digital documentation or compatibility with other analytical systems.
The right microscope therefore depends on what students and researchers need to see, how often the instruments will be used, what specimens will be examined, and how much imaging capability the laboratory requires.
A university may also need different microscope configurations for different departments. Biology students examining prepared slides have different requirements from materials-science researchers studying surfaces, cell researchers performing fluorescence imaging, or medical students learning histology.
This guide explains the key factors universities should consider when selecting microscopes for teaching and research laboratories.
Why Microscope Selection Matters in University Laboratories
A microscope can remain in service for many years. A poor purchasing decision can therefore create problems long after the initial procurement.
Common issues include:
Insufficient optical quality
Inadequate illumination
Poor ergonomics
Difficult controls for students
Lack of suitable objectives
Insufficient working distance
Incompatibility with digital cameras
Expensive replacement components
Difficult maintenance
Lack of local technical support
Limited upgrade options
A microscope that looks impressive in a product catalogue may not necessarily be the best instrument for a teaching laboratory.
Similarly, an inexpensive student microscope may become inadequate when a research group needs publication-quality imaging.
The first step is therefore to define the laboratory's application requirements before comparing individual models.
Teaching Microscopes vs Research Microscopes
The distinction between teaching and research microscopes is useful, although there is no single specification that universally defines either category.
Requirement | Teaching Laboratory | Research Laboratory |
|---|---|---|
Primary users | Students and instructors | Researchers and specialists |
Ease of operation | Very important | Important but application-dependent |
Durability | Very important | Very important |
Optical performance | Good to excellent | High-performance/application-specific |
Magnification | Usually standard range | Application-dependent |
Imaging | Often optional or shared | Frequently important |
Advanced contrast | Often limited | May be essential |
Fluorescence | Usually not required | May be required |
Automation | Usually limited | May be valuable |
Upgradeability | Useful | Often important |
Ergonomics | Critical for repeated student use | Critical for long research sessions |
Cost per workstation | Important | Secondary to research requirements |
A university should avoid treating these as rigid categories.
Some teaching laboratories may benefit from digital imaging and advanced optics, while some research groups may need relatively simple optical microscopes for routine observations.
Step 1: Define the Microscopy Application
Before selecting a microscope, identify exactly what users need to observe.
Ask:
What specimens will be examined?
Are samples transparent or opaque?
Are they fixed or live?
Are they stained?
Is surface morphology important?
Is fluorescence required?
Are measurements needed?
Is three-dimensional information important?
Will images be captured for documentation?
Are observations primarily qualitative or quantitative?
The answers can dramatically change the appropriate microscope configuration.
For example:
Prepared biological slides → Compound light microscope
Live cells → Inverted microscope may be appropriate
Fluorescently labelled specimens → Fluorescence microscope
Opaque material surfaces → Stereo microscope or metallurgical microscope
High-resolution ultrastructural research → Electron microscopy may be required
The application should determine the instrument, not the other way around.
Step 2: Choose the Appropriate Microscope Type
Different microscope designs serve different purposes.
Compound Light Microscopes
Compound microscopes are commonly used for biological and educational applications.
They typically use multiple objective lenses and transmitted illumination.
Typical applications include:
Histology
Microbiology
Botany
Cell biology
General biology education
Pathology teaching
For undergraduate teaching laboratories, compound microscopes are often the core instrument.
Stereo Microscopes
Stereo microscopes, also called dissecting microscopes, provide a three-dimensional visual impression at relatively low magnification.
They are useful for:
Dissection
Entomology
Botany
Small specimens
Electronics
Materials inspection
Manipulation of larger samples
Their relatively large working distance can make them particularly useful when students need to manipulate a specimen while observing it.
Inverted Microscopes
In an inverted microscope, the optical configuration allows observation from below the specimen.
They are commonly used for applications involving specimens contained in vessels such as culture dishes or plates.
Typical applications include:
Cell culture
Live-cell observation
Tissue culture
Developmental biology
Certain biomedical research applications
For laboratories working extensively with cultured cells, an inverted configuration may be more practical than a conventional upright microscope.
Fluorescence Microscopes
Fluorescence microscopy uses fluorescent labels or naturally fluorescent specimens to visualize specific structures.
Applications can include:
Cell biology
Molecular biology
Immunofluorescence
Microbiology
Biomedical research
When fluorescence is required, the selection process becomes more complex.
The laboratory may need to evaluate:
Excitation wavelengths
Emission filters
Fluorescence illumination
Filter sets
Camera sensitivity
Background signal
Photobleaching considerations
A basic brightfield microscope cannot simply be assumed to provide equivalent fluorescence performance.
Polarizing Microscopes
Polarizing microscopes are useful when examining materials with optical anisotropy.
Applications can include:
Geology
Mineralogy
Materials science
Crystallography-related observations
Certain pharmaceutical analyses
They use polarized light and specialized optical components to reveal information that may not be visible under ordinary brightfield illumination.
Metallurgical Microscopes
Metallurgical or materials microscopes are designed for examining opaque specimens.
They commonly use reflected illumination rather than relying exclusively on transmitted light.
Applications include:
Metals
Alloys
Coatings
Semiconductor-related materials
Surface defects
Manufacturing quality control
For engineering universities, a standard biological microscope may therefore be unsuitable for materials laboratories.
Digital Microscopes
Digital microscopy integrates a camera and display system into the observation workflow.
This can be valuable in teaching because an instructor can display the specimen to an entire class.
Potential benefits include:
Group demonstrations
Image capture
Digital documentation
Remote viewing
Student assignments
Image annotation
Measurement and analysis
However, a digital microscope should still be evaluated for optical quality, camera performance, software capabilities and ease of use.
A high-resolution camera cannot compensate for poor optics.
Step 3: Select the Right Magnification
Magnification is one of the most commonly misunderstood microscope specifications.
Higher magnification does not automatically mean better microscopy.
A microscope may provide very high nominal magnification while producing little additional useful detail.
This is sometimes described as empty magnification.
A more useful question is:
What level of detail does the application actually require?
Common objective magnifications include:
4×
10×
20×
40×
60×
100×
A standard teaching microscope may use a combination such as 4×, 10×, 40× and 100× oil immersion objectives.
The appropriate combination depends on the curriculum and specimens.
Understanding Total Magnification
Total magnification is generally calculated as:
Objective Magnification × Eyepiece Magnification
For example:
40× objective × 10× eyepiece = 400× total magnification
However, total magnification should not be used as the sole measure of performance.
Resolution, numerical aperture, illumination and optical quality determine how much useful detail can actually be resolved.
Step 4: Pay Attention to Numerical Aperture
Numerical aperture (NA) is a critical optical parameter.
It influences the microscope's ability to collect light and resolve fine detail.
A higher-NA objective can generally provide better resolution when the rest of the optical system and specimen preparation support it.
For example, two 40× objectives may provide very different imaging performance if their numerical apertures differ.
Therefore, universities should compare:
Magnification
Numerical aperture
Resolution
Working distance
Correction characteristics
Immersion requirements
rather than looking only at magnification.
Step 5: Evaluate the Objective Lenses
Objectives are among the most important components of a microscope.
When selecting them, consider:
Magnification
Choose the magnification range based on actual teaching and research applications.
Numerical Aperture
Higher NA can support greater resolution under appropriate conditions.
Working Distance
Working distance is the distance between the objective's front lens and the specimen when the specimen is in focus.
Longer working distance can be useful for thicker or more complex specimens.
Optical Correction
Depending on the application, objectives may incorporate different levels of optical correction.
Research laboratories with demanding imaging requirements may need higher-performance objectives than routine teaching laboratories.
Immersion Objectives
Some high-resolution objectives use immersion media, such as oil, to improve optical performance.
If a university uses immersion objectives, the laboratory should consider:
Student training
Cleaning procedures
Maintenance
Compatible immersion media
Long-term operating practices
Step 6: Choose the Right Illumination System
Illumination has a major effect on image quality.
For routine teaching microscopes, LED illumination is often attractive because it can provide:
Long operating life
Low heat output
Consistent illumination
Low maintenance
Efficient operation
However, illumination selection should be based on the complete optical system and application.
For specialized microscopy, the laboratory may require illumination designed for:
Fluorescence
Phase contrast
Darkfield
Polarized light
Reflected light
The microscope should therefore be evaluated as an integrated optical system.
Step 7: Consider Contrast Techniques
Different specimens may require different contrast methods.
Brightfield
The most common technique for routine stained specimens.
Suitable for:
Histology
Stained microbiological specimens
General teaching
Phase Contrast
Useful for observing transparent specimens with limited staining.
It can be particularly valuable for:
Live cells
Cell cultures
Unstained biological specimens
Darkfield
Darkfield illumination can enhance the visibility of certain small or low-contrast specimens.
Differential Interference Contrast
DIC can provide enhanced contrast and a three-dimensional visual impression for suitable specimens.
It is generally more relevant to advanced research than routine undergraduate microscopy.
Fluorescence
Fluorescence provides contrast through fluorescent signals and can reveal specific structures using appropriate labels and optical filters.
The laboratory should select contrast methods based on actual research and teaching requirements rather than purchasing every available option.
Step 8: Don't Ignore Ergonomics
University laboratories can involve long periods of microscope use.
Poor ergonomics can affect comfort, productivity and student experience.
Important features include:
Comfortable eyepiece position
Smooth focusing controls
Convenient stage controls
Easy objective selection
Stable mechanical stage
Comfortable hand positioning
Appropriate interpupillary adjustment
Diopter adjustment
Suitable illumination controls
For teaching laboratories, ergonomics are especially important because students with different heights, experience levels and physical characteristics will use the instruments.
A microscope that is technically excellent but uncomfortable to operate may perform poorly in a busy teaching environment.
Step 9: Consider Binocular or Trinocular Configuration
Binocular Microscope
A binocular microscope provides two eyepiece tubes for comfortable viewing with both eyes.
This is common for routine teaching and laboratory use.
Trinocular Microscope
A trinocular configuration provides an additional optical path for a camera.
This can be useful for:
Digital imaging
Documentation
Research photography
Live display
Image analysis
If a university expects to add digital imaging later, choosing an upgradeable trinocular platform may provide greater flexibility.
Step 10: Digital Imaging and Camera Selection
For research laboratories, digital imaging may be as important as visual observation.
The camera should be evaluated based on:
Sensor type
Resolution
Pixel size
Frame rate
Sensitivity
Dynamic range
Exposure control
Interface
Software compatibility
The best camera depends on the application.
For example, a fast camera may be useful for live-cell imaging, while sensitivity and dynamic range can become more important for low-light fluorescence applications.
Universities should also consider whether images need to be:
Archived
Measured
Annotated
Exported
Shared
Included in research publications
Step 11: Microscope Software Matters
Digital microscopy is not only about the camera.
Software can support:
Image capture
Measurement
Calibration
Annotation
Image stitching
Focus stacking
Documentation
Basic image analysis
Research laboratories should verify that software capabilities match their intended workflow.
It is also important to understand licensing terms.
Some systems may include basic software while advanced analysis features require additional licenses.
Step 12: Consider Teaching-Laboratory Durability
Teaching microscopes may experience significantly more handling than research instruments used by a small specialist team.
Students may repeatedly:
Change objectives
Adjust focus
Move stages
Reposition slides
Adjust illumination
Transport instruments
Therefore, teaching microscopes should be evaluated for:
Mechanical robustness
Stage durability
Focus mechanism quality
Cable management
Ease of cleaning
Replacement-part availability
User-friendly controls
A robust microscope can have a lower total cost of ownership even when its purchase price is not the lowest.
Step 13: Plan for Maintenance and Service
The purchase price is only part of the lifecycle cost.
Before procurement, ask:
Who will service the microscope?
Are replacement parts available locally?
How long are parts expected to remain available?
Is calibration service available?
What warranty is included?
What does the warranty exclude?
Is preventive maintenance available?
How quickly can technical support respond?
For universities with many microscopes, serviceability becomes especially important.
A laboratory with 30 microscopes cannot afford extended downtime if multiple instruments require repair simultaneously.
Step 14: Check Upgradeability
Research requirements can change.
A laboratory that initially needs brightfield microscopy may later require:
Fluorescence
Digital imaging
Additional objectives
Phase contrast
Motorized stages
Image analysis
Advanced documentation
An upgradeable platform can help universities adapt without replacing the entire microscope.
However, upgradeability should be evaluated realistically.
A manufacturer's statement that a system is "upgradeable" does not necessarily mean every advanced feature can be added later at reasonable cost.
Ask for specific upgrade paths and pricing.
Step 15: Standardize Where Practical
Universities often operate multiple laboratories and departments.
Standardization can simplify:
Student training
Faculty training
Maintenance
Spare-parts management
Procurement
Accessories
Repairs
Image-analysis workflows
For example, using the same basic microscope platform across several undergraduate biology laboratories can make training and maintenance easier.
However, research laboratories should not be forced into unnecessary standardization if their applications require specialized equipment.
A better approach can be:
Standardize routine teaching equipment while allowing application-specific research platforms.
How Many Microscopes Does a University Laboratory Need?
The answer depends on:
Number of students
Laboratory class size
Number of practical sessions
Instructor-to-student ratio
Specimen availability
Course requirements
Instrument sharing
Budget
Research workload
A teaching laboratory should consider whether students need:
One microscope per student
or
One microscope shared by a small group
or
A combination of student microscopes plus demonstration/digital imaging systems
For example, a laboratory may use standard microscopes at individual workstations and one advanced digital microscope connected to a large display for instructor demonstrations.
This can sometimes provide a better balance between cost and educational value.
What Should a Biology Teaching Laboratory Look For?
For routine undergraduate biology, important requirements may include:
Compound microscope
Reliable transmitted illumination
4×, 10×, 40× and potentially 100× objectives
Good mechanical stage
Smooth coarse and fine focusing
Comfortable binocular viewing
Robust construction
Easy maintenance
Optional digital imaging
The exact configuration should reflect the curriculum.
If students regularly examine live cells, phase contrast or another suitable contrast method may be more useful than simply adding higher magnification.
What Should a Research Laboratory Look For?
Research requirements vary considerably.
A cell-biology laboratory may prioritize:
Inverted configuration
Phase contrast
Fluorescence
Sensitive camera
Environmental control
Live-cell imaging
A materials-science laboratory may prioritize:
Reflected illumination
High-quality objectives
Polarization
Large sample handling
Measurement capability
A microbiology laboratory may require:
High-quality brightfield
Oil immersion
Phase contrast
Fluorescence
This demonstrates why a single microscope specification cannot satisfy every research laboratory.
How to Compare Microscope Specifications
A procurement team should create an application-based comparison matrix.
Specification | Teaching | Research |
|---|---|---|
Optical quality | High priority | Very high priority |
Magnification | Curriculum-dependent | Application-dependent |
Numerical aperture | Important | Critical for demanding imaging |
Ergonomics | Very high priority | High priority |
Durability | Very high priority | High priority |
Digital camera | Useful | Often important |
Fluorescence | Application-dependent | Frequently important in relevant fields |
Contrast methods | Basic/application-specific | Application-specific |
Upgradeability | Useful | Often important |
Service support | Critical | Critical |
Software | Basic/documentation | Application-dependent |
This makes procurement more objective than comparing brand names or headline specifications.
Common Mistakes When Buying University Microscopes
Choosing the Highest Magnification
More magnification does not automatically provide more useful detail.
Buying One Configuration for Every Department
Biology, engineering and materials laboratories can have very different microscopy requirements.
Ignoring Ergonomics
Students may spend hours using the instrument.
Focusing Only on Purchase Price
Maintenance, accessories, software and replacement parts contribute to total cost.
Underestimating Digital Imaging
Research workflows increasingly depend on image capture and analysis.
Buying Advanced Features That Nobody Uses
A laboratory should not pay for specialized capabilities without a clear application.
Ignoring Future Requirements
A microscope may remain in service for years. Upgradeability can therefore be valuable.
Failing to Test Before Purchase
Where possible, faculty and technical staff should evaluate representative samples using shortlisted systems before final procurement.
A Practical Microscope Selection Checklist
Before purchasing, confirm:
Application
What specimens will be observed?
What departments will use the microscope?
Are samples transparent or opaque?
Are live samples involved?
Optical System
What magnifications are required?
What numerical apertures are available?
Are specialized objectives needed?
Is immersion microscopy required?
Illumination
Transmitted or reflected illumination?
Brightfield?
Phase contrast?
Darkfield?
Fluorescence?
Polarization?
Imaging
Is a camera required?
What type of imaging is needed?
Is measurement software required?
Will images be used for research publications?
Ergonomics
Is the microscope comfortable?
Are controls easy to reach?
Can students adjust it quickly?
Operations
Can staff maintain it?
Are replacement parts accessible?
Is local technical support available?
Future Planning
Can objectives be upgraded?
Can a camera be added?
Can contrast techniques be expanded?
Can the system integrate with future imaging workflows?
Total Cost of Ownership
The purchase price should be evaluated alongside the expected lifetime cost.
Consider:
Purchase Price
Objectives and Accessories
Camera
Software
Installation
Training
Maintenance
Repairs
Replacement Components
=
Total Cost of Ownership
A lower-cost microscope may become more expensive if it requires frequent repairs or lacks readily available replacement parts.
Conversely, an expensive research platform may be unnecessary for routine undergraduate teaching.
The best purchasing decision is therefore the one that provides the required performance over the expected service life.
How to Build a University Microscope Procurement Strategy
A university can use a four-stage approach.
Stage 1: Application Mapping
List every course and research group that will use microscopy.
Stage 2: Specification Mapping
Convert each application into technical requirements.
Stage 3: Product Evaluation
Compare shortlisted instruments against:
Optical performance
Ergonomics
Durability
Imaging
Upgradeability
Service
Cost
Stage 4: Practical Validation
Test shortlisted microscopes with representative specimens.
The final decision should be based on actual laboratory requirements rather than catalogue specifications alone.
Final Verdict: Choosing the Right Microscope for a University Laboratory
The best microscope for a university laboratory is not necessarily the most expensive, highest-magnification or most technologically advanced instrument.
It is the microscope that provides the right combination of optical performance, application suitability, durability, ergonomics, imaging capability, serviceability and future flexibility.
For undergraduate teaching, prioritize:
Ease of use + durability + optical quality + ergonomics + curriculum fit
For research, prioritize:
Application-specific optics + resolution + contrast + imaging + analysis + upgradeability
For a university managing multiple laboratories, a combination of standardized teaching microscopes and specialized research systems is often more practical than trying to use one platform for every application.
The purchasing process should begin with a simple question:
What do our students and researchers actually need to see?
Once that is clear, the appropriate microscope type, optical configuration, objectives, illumination and imaging system become much easier to determine.